

This tutorial is for Advanced Users. Working knowledge of how to use Zapier is required.
Please make sure that you already set up your Custom Field and Zapier Account. You can always look at the Custom Field tutorial again for more information.
Step 1: Go to Chat Engage > Create a bot > Delete the Text Field > Click the User Input Button.

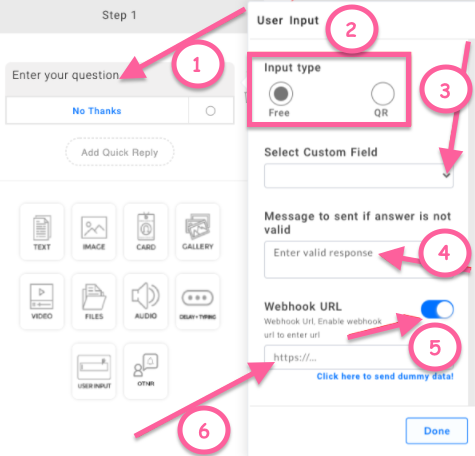
Step 2: Enter your question on the text box and choose your User Input. Then select the Custom Field that you want to use. After that please enter a message to send to the user if the answer is not valid. Enable the Webhook URL to enter the URL from Zapier. (Please see screenshot below on how to get the URL)
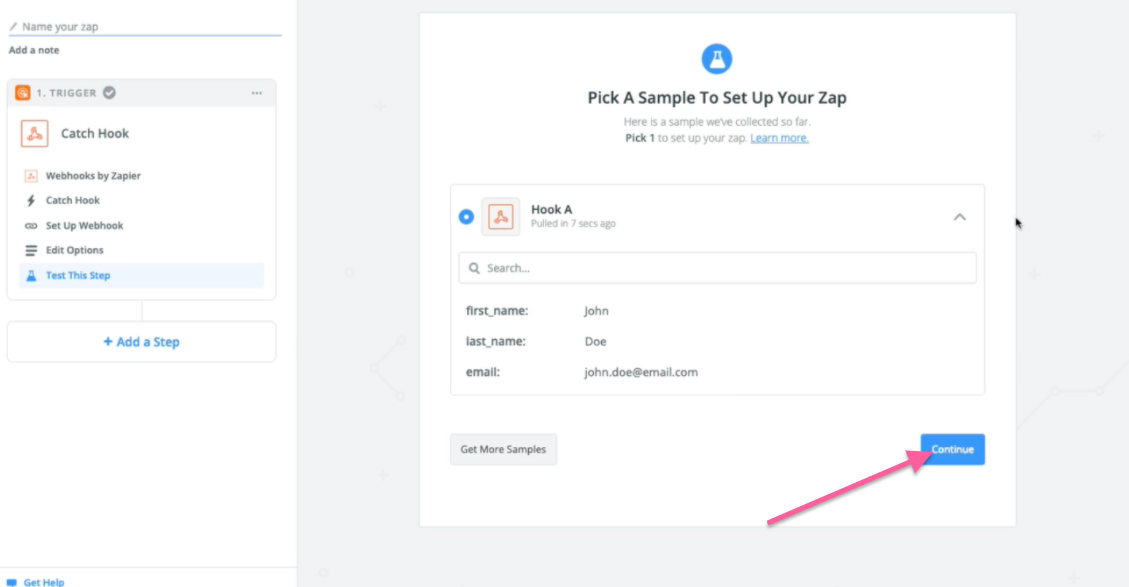
After clicking the "Click here to send dummy data" and Done. on SegMate, go back to Zapier.
There are 2 Input Types:
Free Type - Collecting the data that the users manually types into the messenger for you and you collect and attach that to a Custom Field which you can export to Custom Field Reports.
QR - The only data you can collect using a quick reply is e-mail and phone number.
Note: The User Input Element must always be the last element in a bot segment. You can also now delete the "No Thanks" button. You can always look at the Custom Field tutorial again for more information. You can only click once the "Click here to send dummy data" to each Zap that you set up.
How to get the Webhook URL from Zapier.
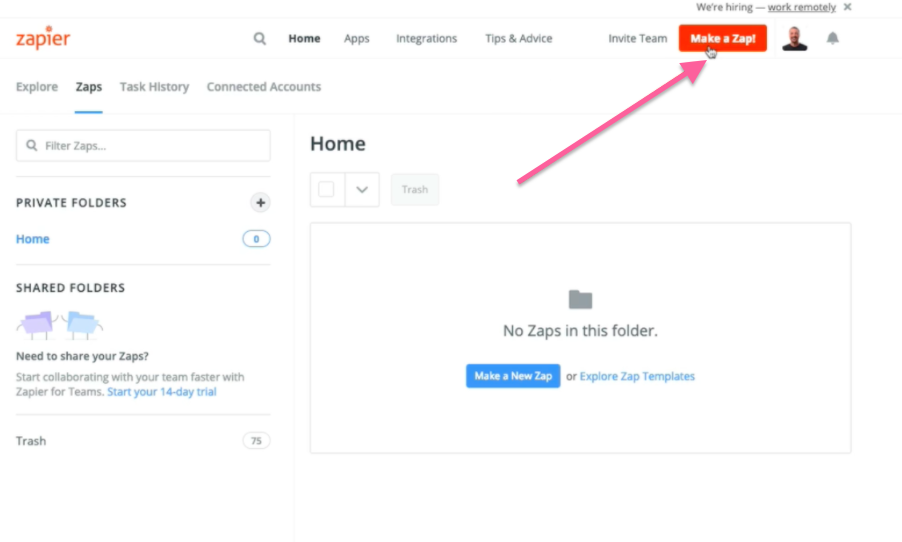
Step 1: Log in to your Zapier account and click Make a Zap.
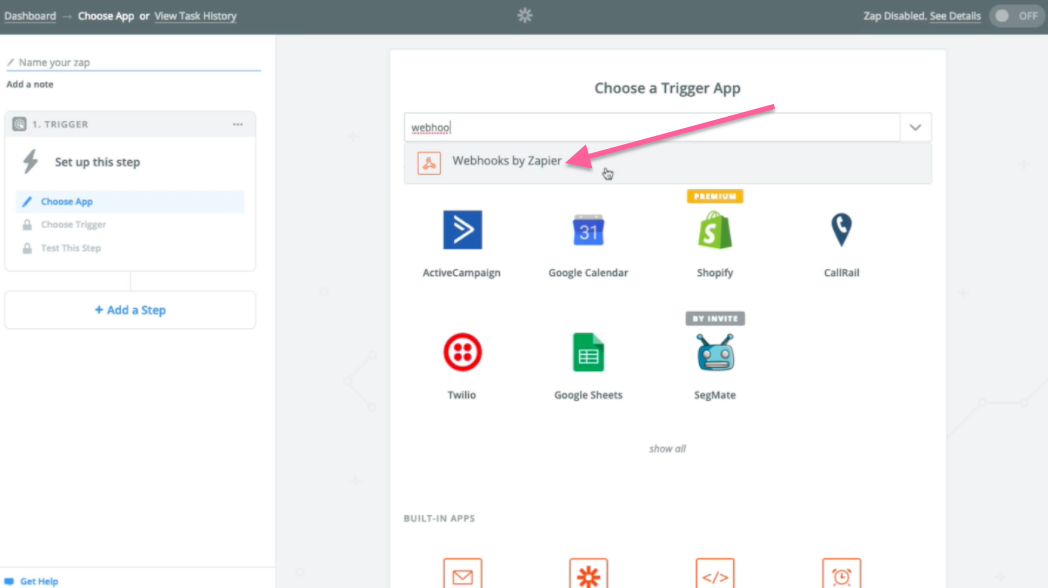
Step 2: Type the Webhooks by Zapier on the search tab and click.
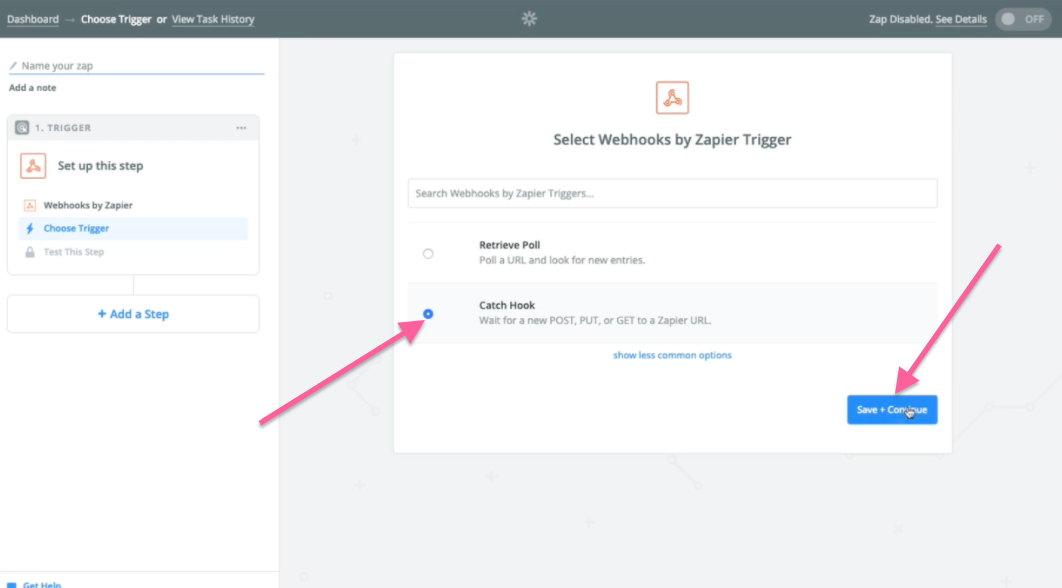
Step 3: Select the Catch Hook and click Save + Continue.
Step 4: Click Continue.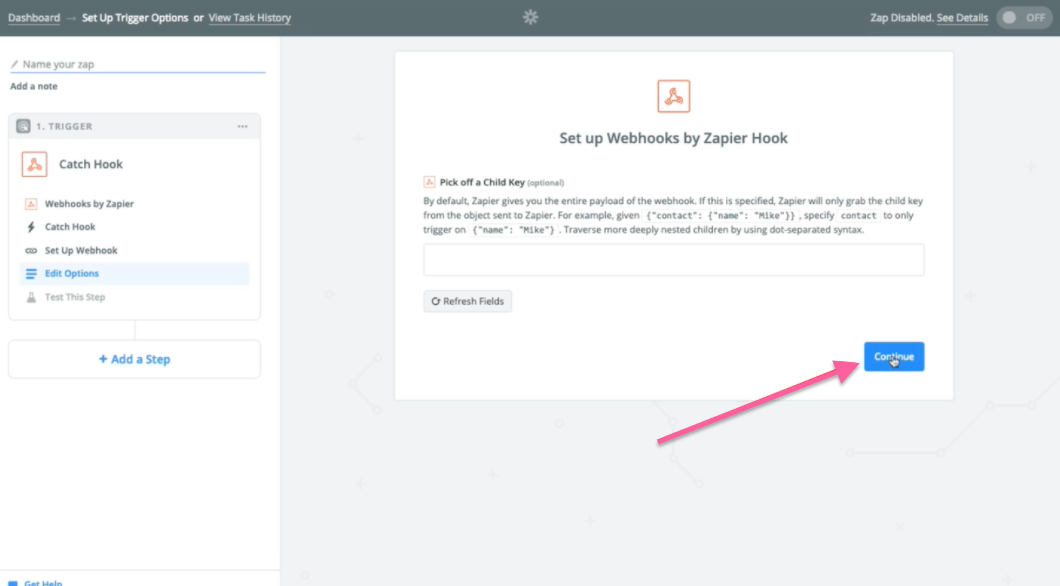
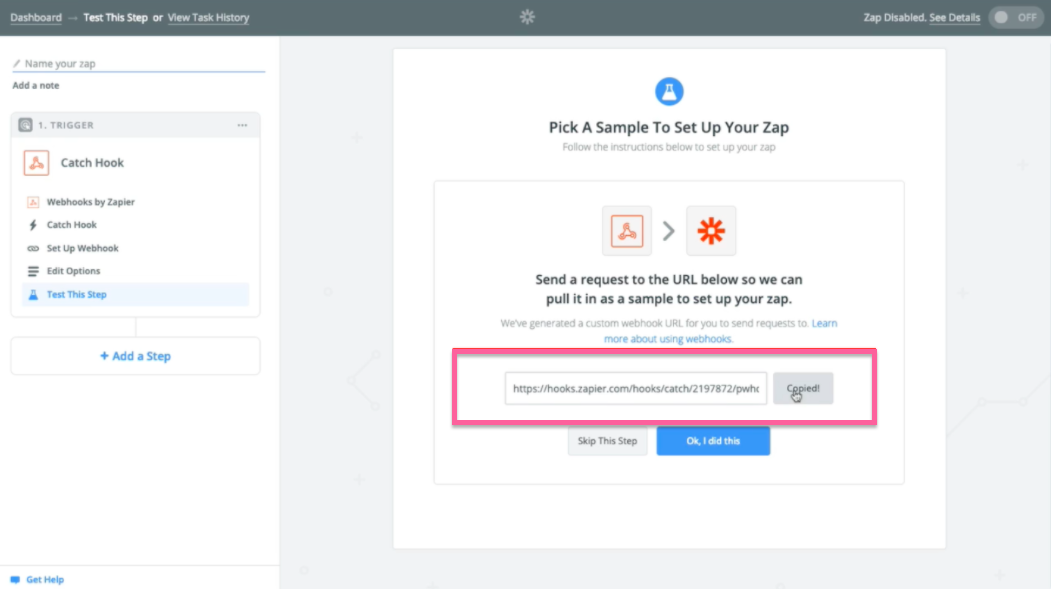
Step 5: Click Copy, then go back to SegMate and paste your URL.
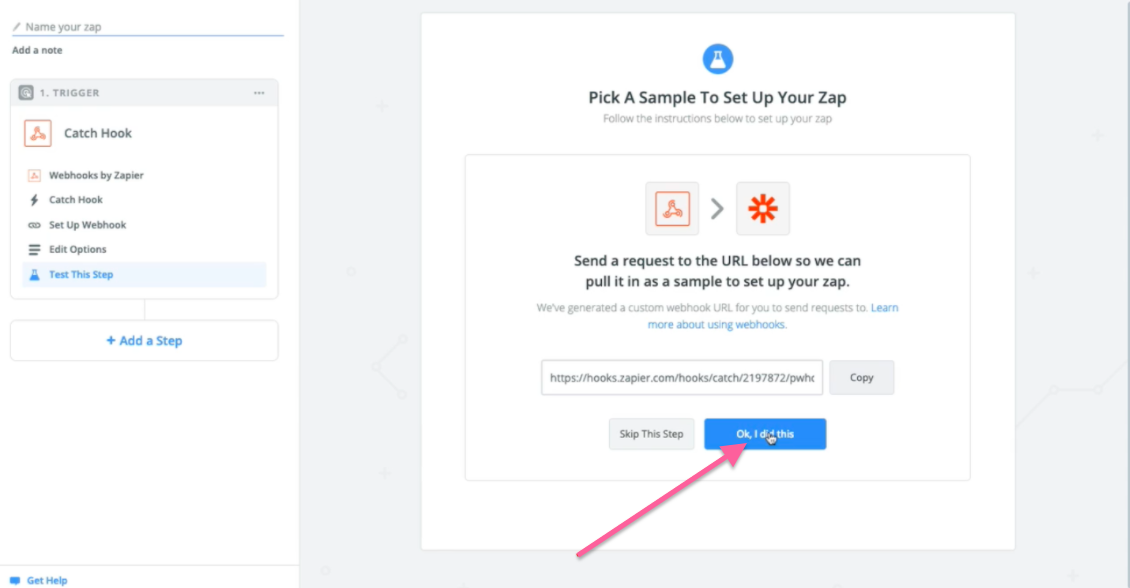
Step 1: Click "Ok, I did this"
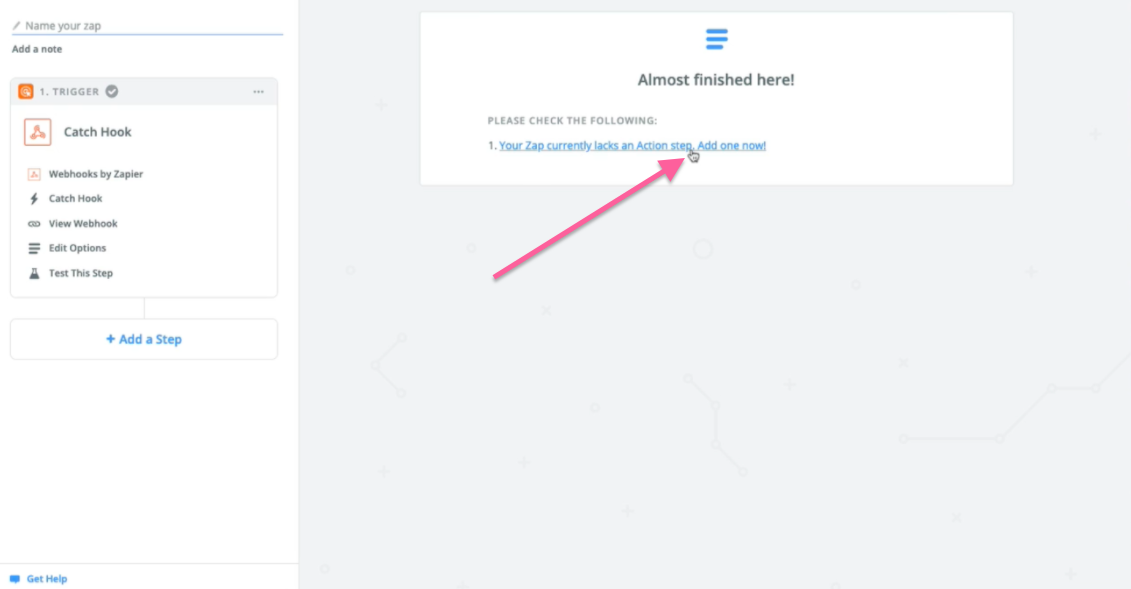
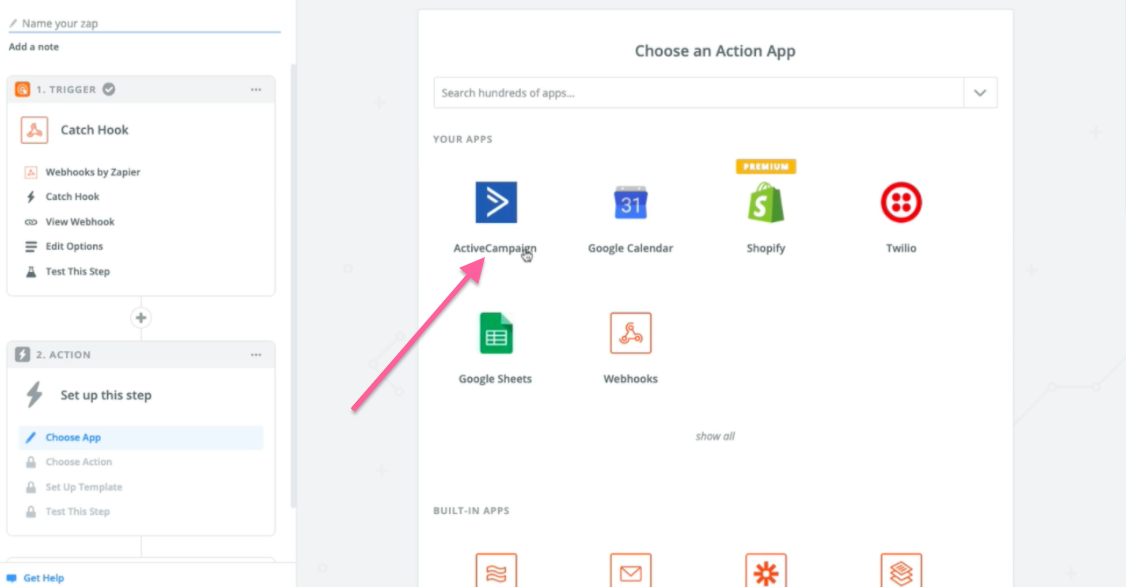
Each App will allow you to collect certain information depending on what type of App it is. For example, let's use Active Campaign.
Every App in Zapier will have its own set of tools or functions that will allow you to do.
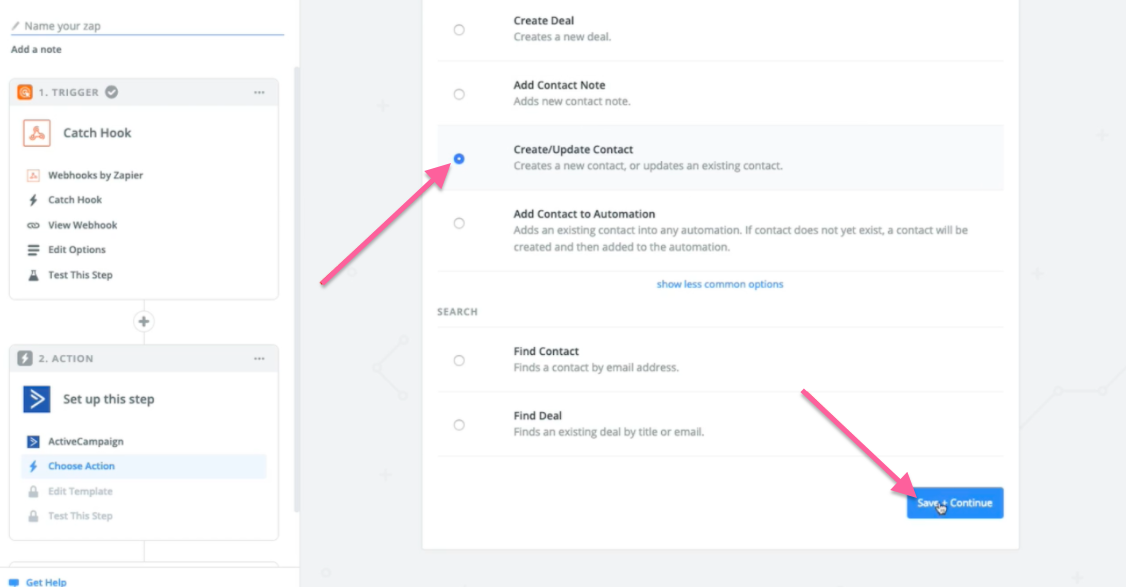
Step 2: Select Create/Update Contact and click Save + Continue
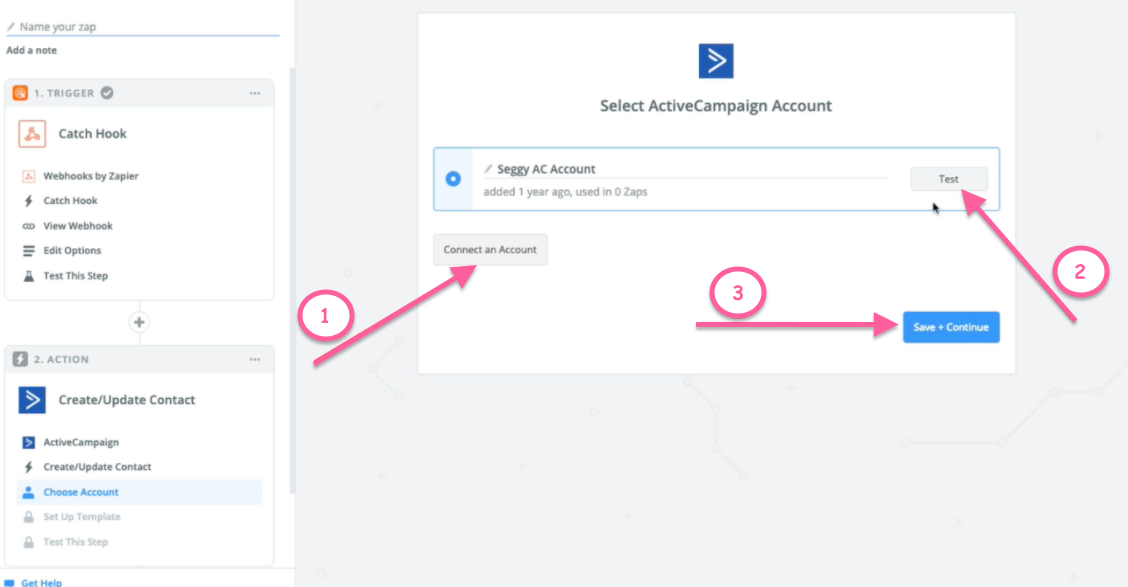
Step 3: If you don’t have an autoresponder connected, please click the “Connect an Account” and click “Test” then Save + Continue.
Step 4: Set up your ActiveCampaign contact and click Continue.
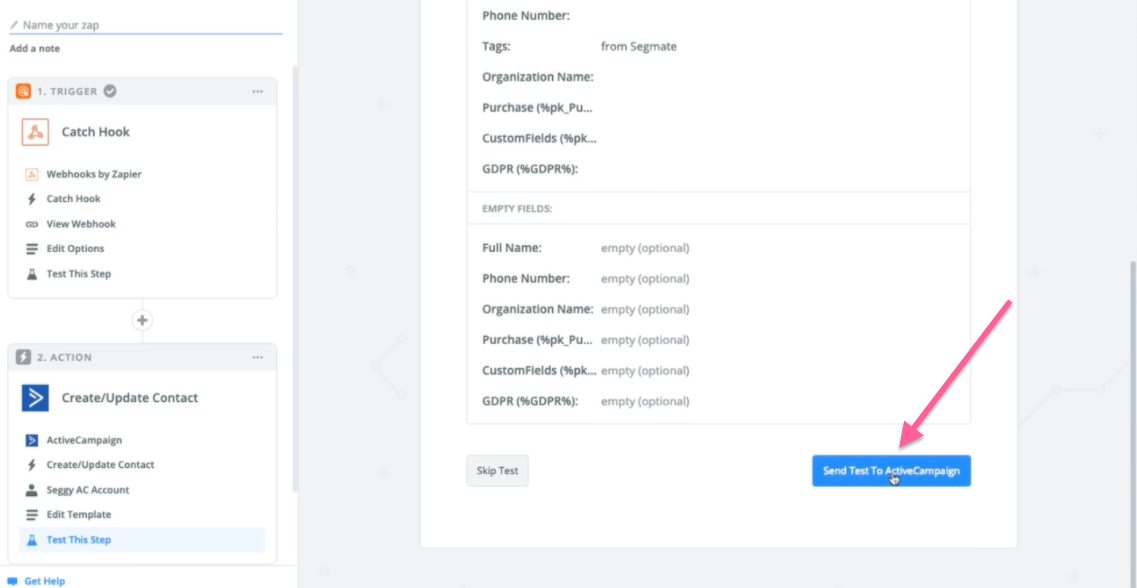
Step 5: Send Test Contact to ActiveCampagin.
Step 6: Click Finish.
Step 7: Give your Zap a name, turn on the toggle and click See it on your dashboard.
